
Flushing Your Summit AT
The Summit AT should be flushed if the printer will not be printing anything for more than 3 days. This prevents ink from clogging the machine.
 Printable PDF
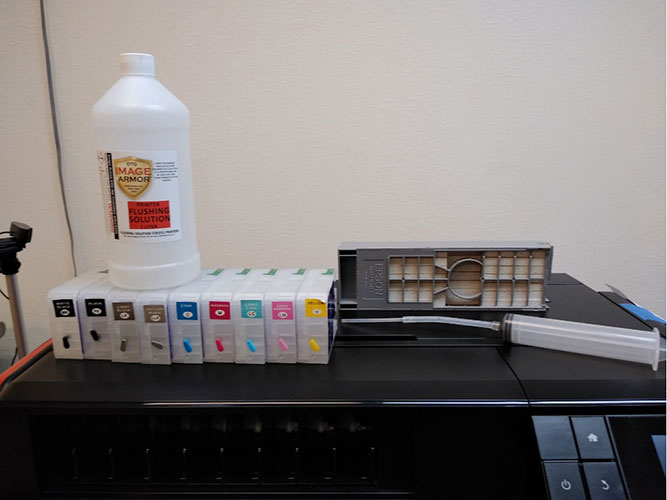
For this maintenance you will need:
- Image Armor flushing solution*
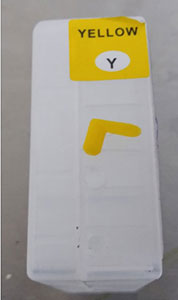
- The included set of cleaning cartridges
- Syringe with tubular fill tip
- Spare maintenance cartridge
*Items available at mesasupplies.com
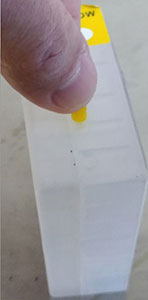
- First, remove the rubber stoppers from the cleaning cartridges.
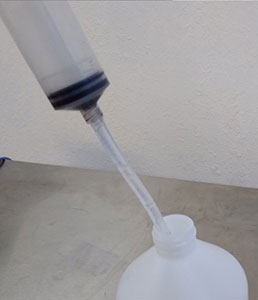
- Fill syringe with flushing solution.
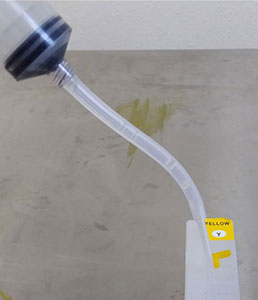
- Use syringe to fill the cartridges.
- Recap the cleaning cartridges.
- Turn the printer on.
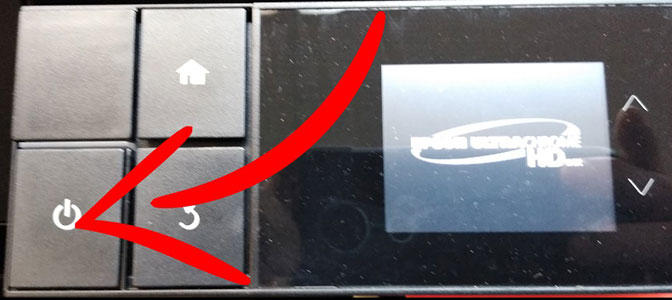
- Tap the ink icon.
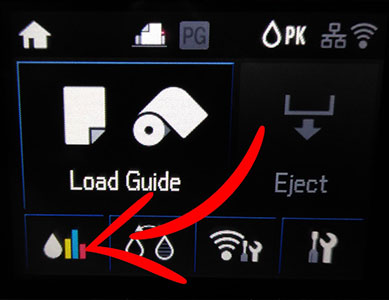
- Tap Open Ink Cover icon.

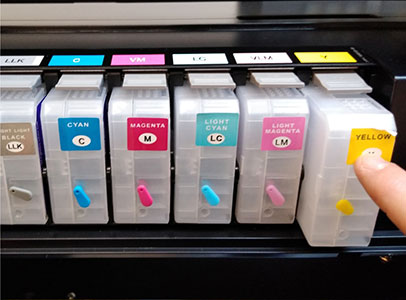
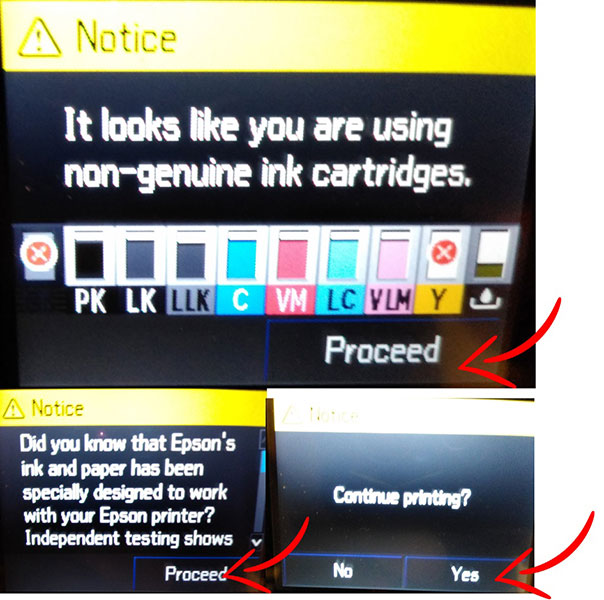
- Insert all cleaning cartridges and close lid.
- Tap Proceed. Then Proceed. Then Yes.
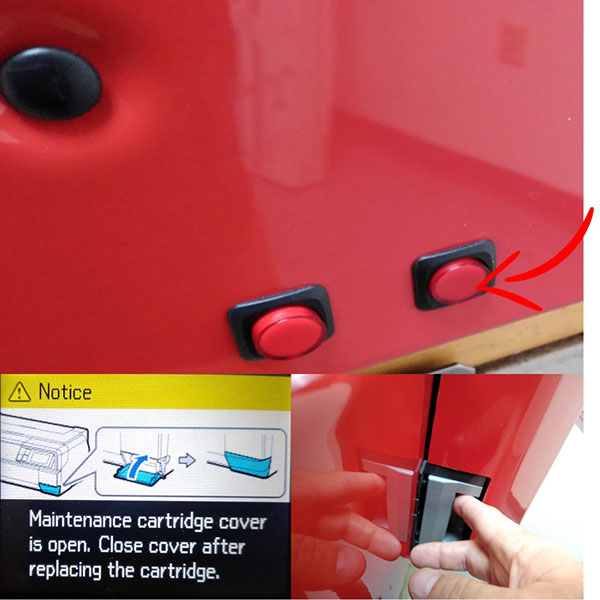
- Press Cartridge Release button. When it displays cartridge cover open message on screen, remove the Maintenance Cartridge.
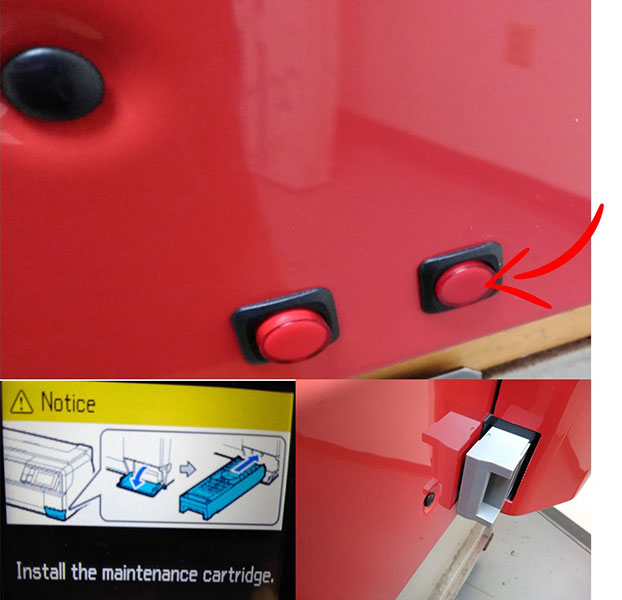
- Press Cartridge Release button again. When it displays the Insert Maintenance Cartridge message, insert the new maintenance cartridge.
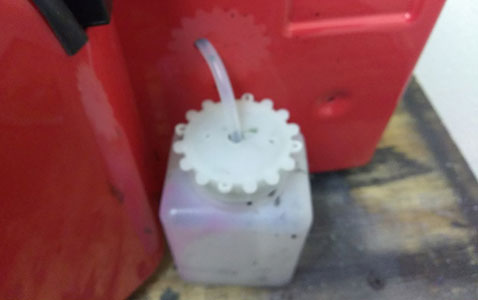
- Attach syringe to waste line and gently pull one full syringe worth of ink.
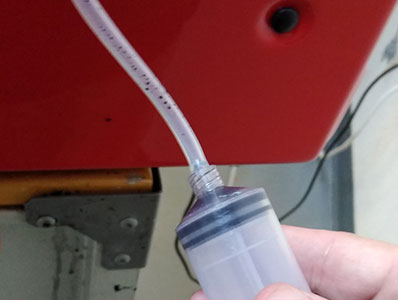
- Detach syringe from waste ink line and place the line back in the waste container.
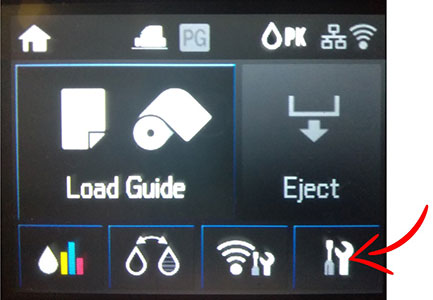
- Tap the Settings icon.
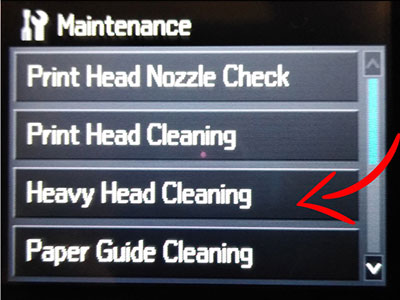
- Tap Maintenance.

- Tap Heavy Head Cleaning.
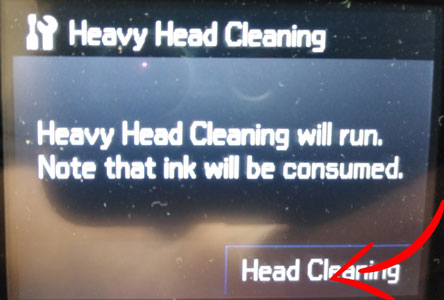
- Confirm Head Cleaning.
- Once Heavy Head Cleaning is completed, repeat process until only clear liquid is coming through waste ink line.

Share this page:


