
Printing on White Shirts
- First make sure you are on the correct Queue and Sub-Queue.
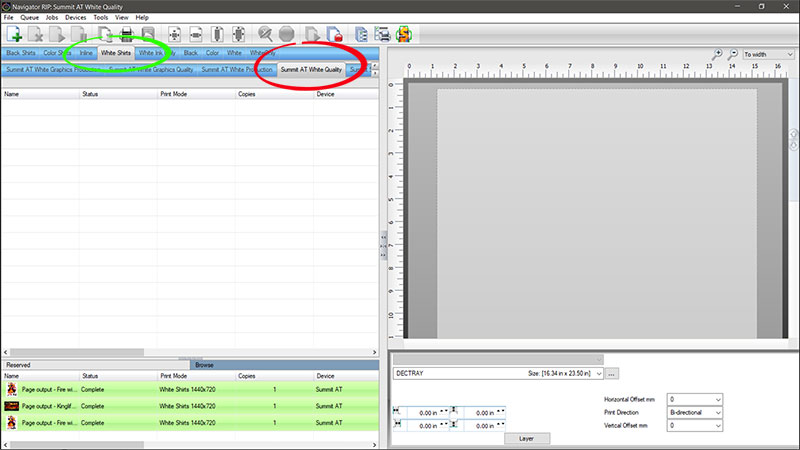
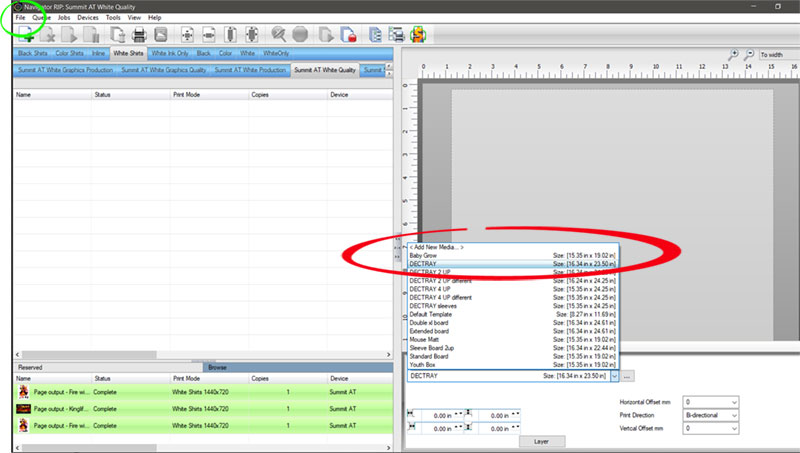
- Select the desired Decoration Tray Platen then File and Import File.
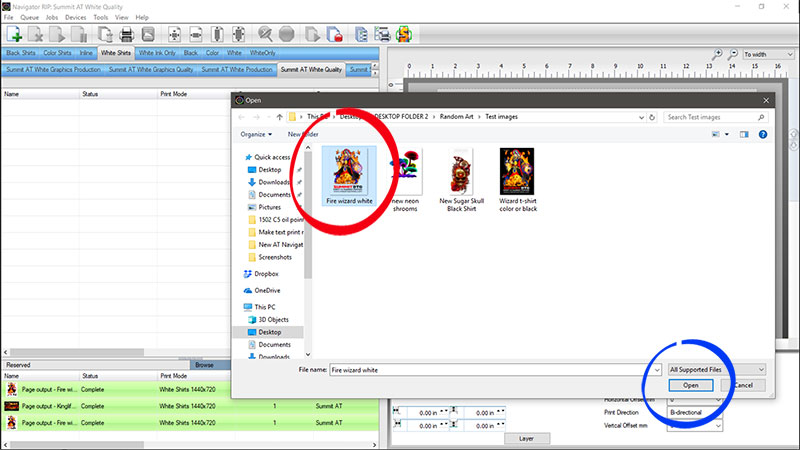
- Now select the file you want and click Open.
- Click Select.
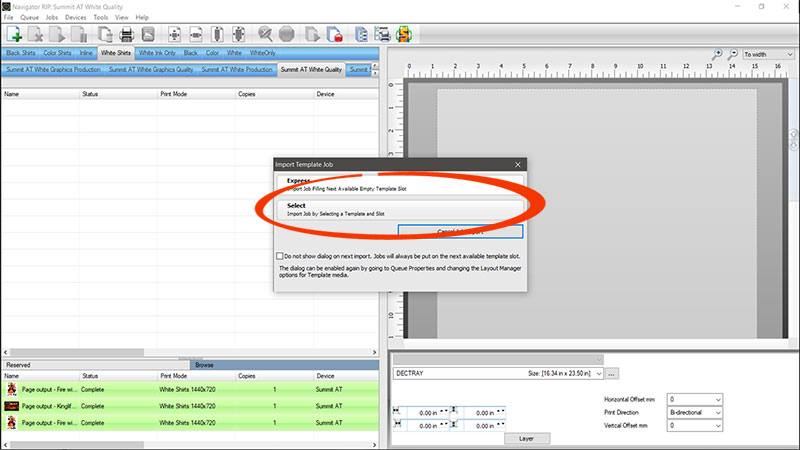
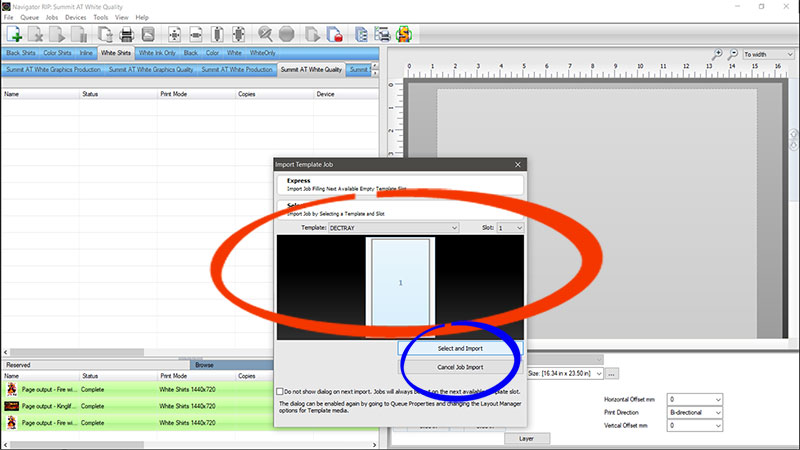
- Make sure to select the Template that matches the Platen you selected. Then click Select and Import.
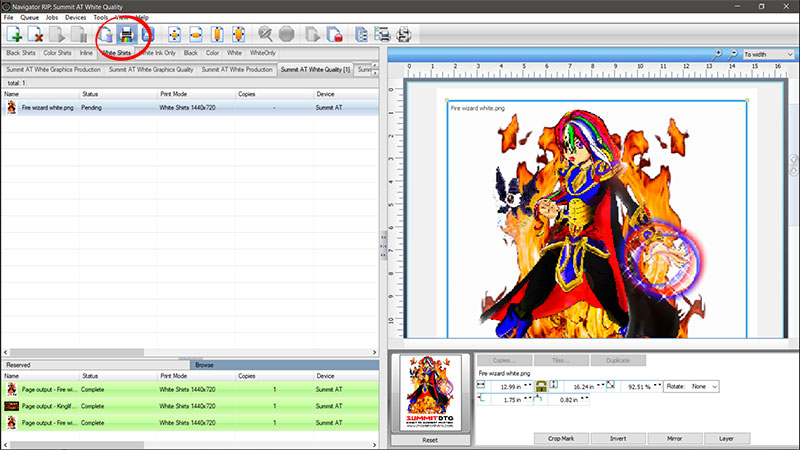
- Now click on the image thumbnail. This will put a binding box around the image. Then click and drag one of the corner yellow nodes. This will allow you to size and position the image.

- Last Click the Print Icon at the top.
These Instructions cover the basic steps taken to print a white shirt, using the default print quality. The defaults have been set to the most common settings for production. In the Colored Shirt and Black Shirt Documents we will cover adjusting resolution and ink flow.
Share this page:


